
Hello friends!
So as you may have seen, I delved into that first recipe post without realizing that some of you probably don’t know how to poach an egg, and that was the main ingredient in once of the recipes! So I promised to create an entirely separate “how-to” post explaining in easy steps how to poach an egg. So here I am!
You might remember that scene in Julie & Julia where she poaches an egg, and on her first try it all comes apart in a big gross mess. It’s really not that hard, you just have to have confidence!
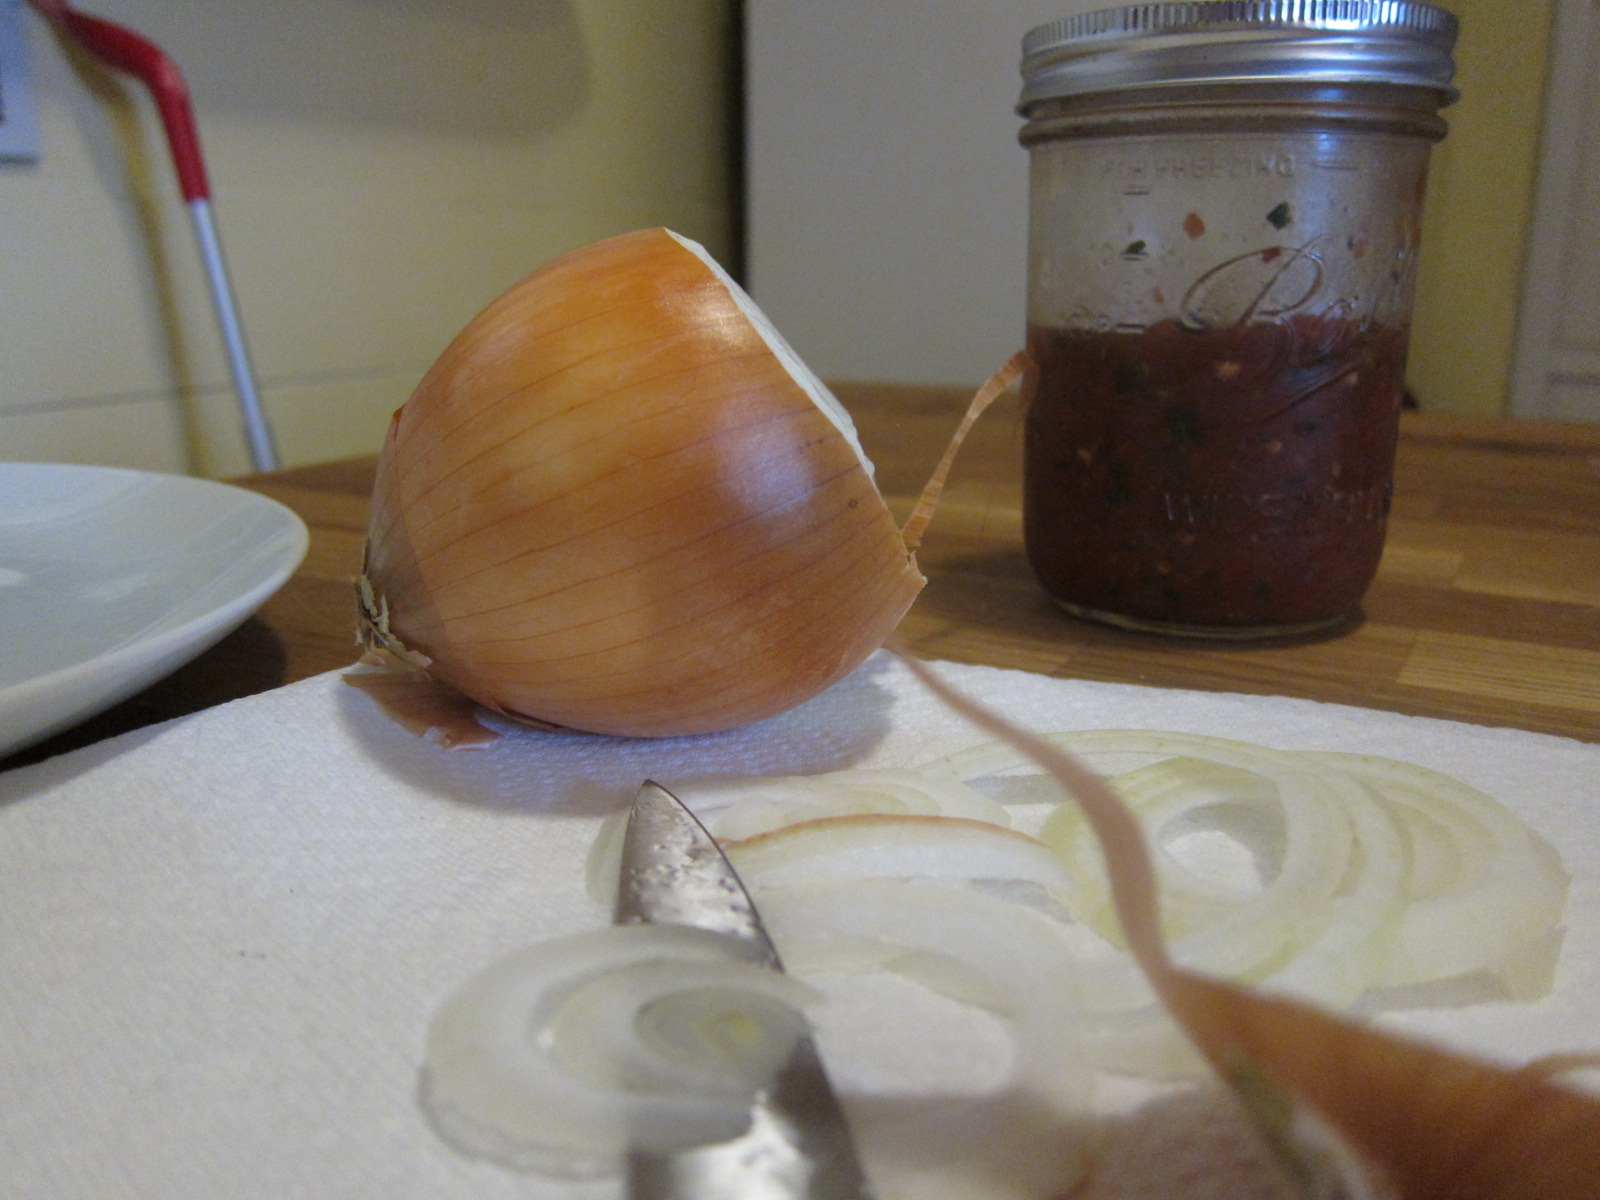
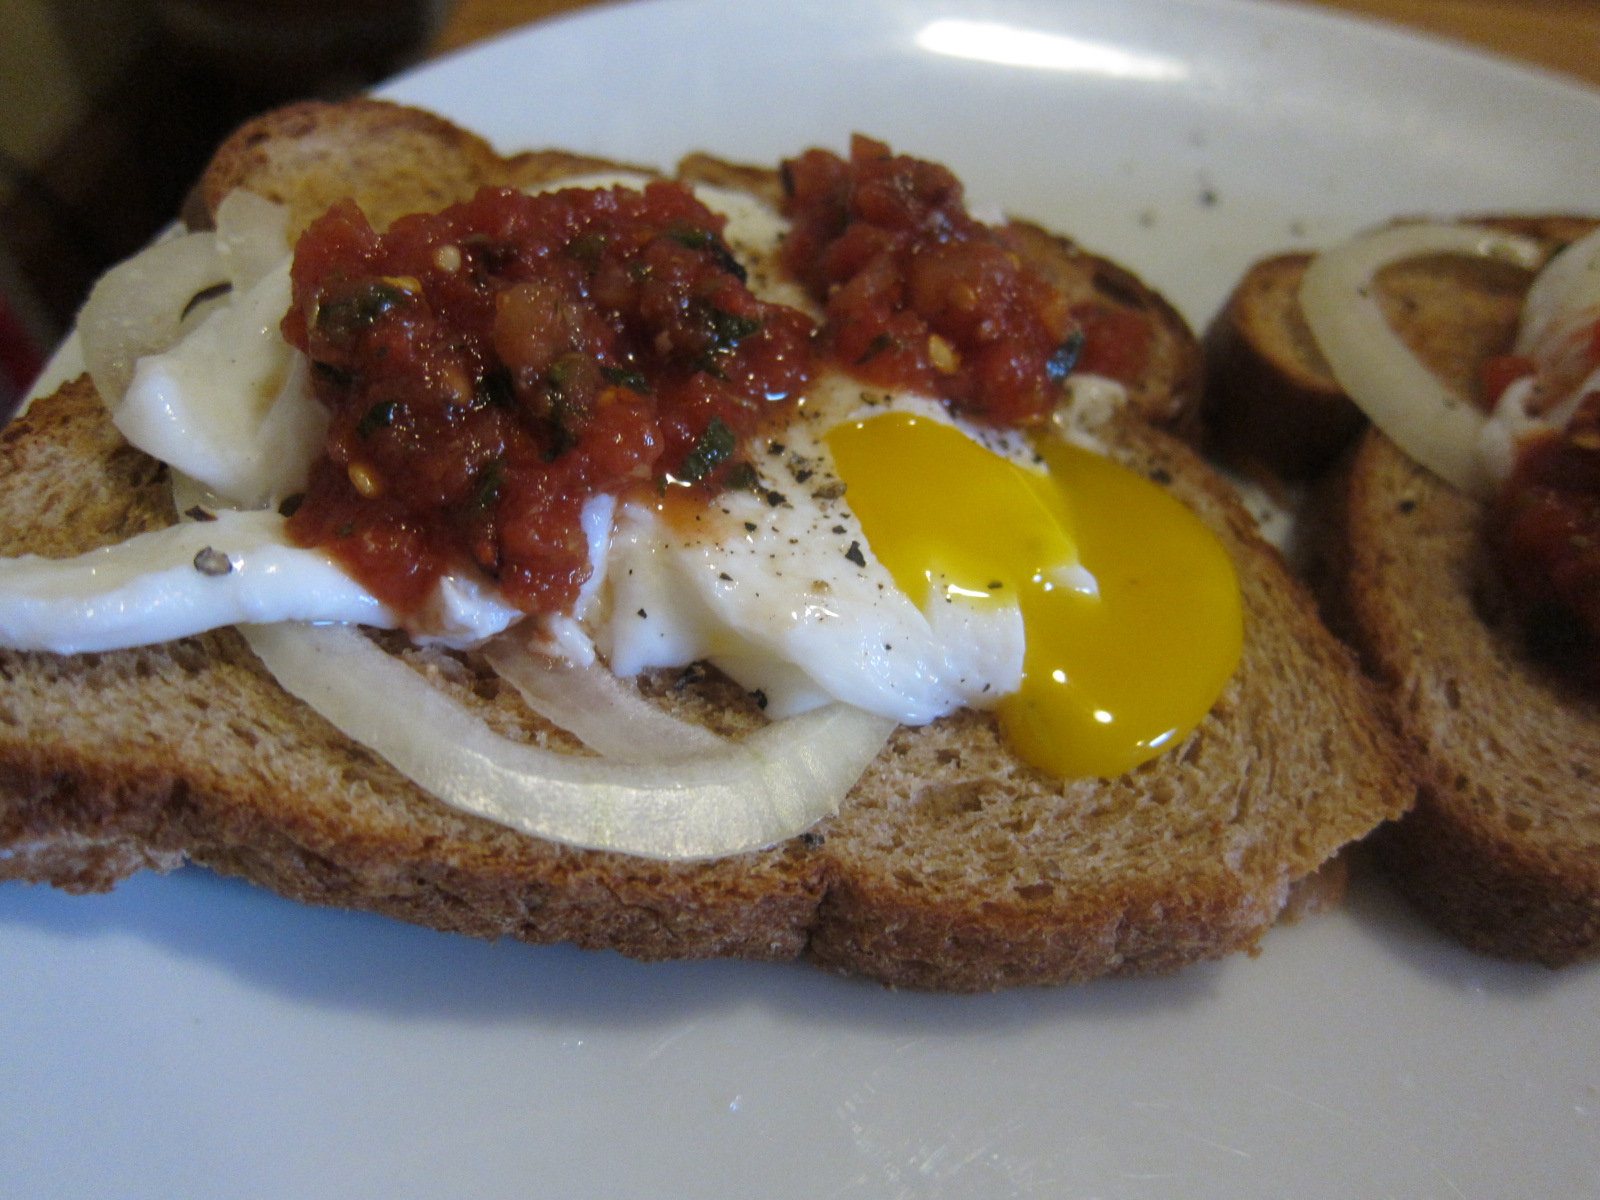
Poaching is one of the most (if not the most) low calorie ways to prepare an egg, and it’s also my personal favorite. The texture is silky smooth, and the yolk is allowed to be the beautiful centerpiece of taste and visual attention. I love to put them on toast with avocados, onions, and Tapatio 🙂
Again, I know some of my readers may be vegan and choose to not eat eggs, which I respect. I ask that you also respect my choices. I believe that one’s diet should be as one’s religion – it happens withing your own body and soul, and therefore should be a personal choice made in your own heart. I personally choose to eat eggs that are local and organic! I just love them.
(Just to clarify, the steps are not from Mastering the Art of French Cooking. I drew them from my own experience poaching eggs, and I can do it almost every time!)
And now, the moment you’ve all been waiting for…
HOW TO POACH AN EGG, IN 10 EASY STEPS
Things you’ll need:
- Eggs
- A medium sauce pan
- White vinegar
- A regular spoon and/or a large slotted spoon
- A small bowl with thin edges, or a liquid measuring cup with a lip
- Salt & Pepper (if desired)
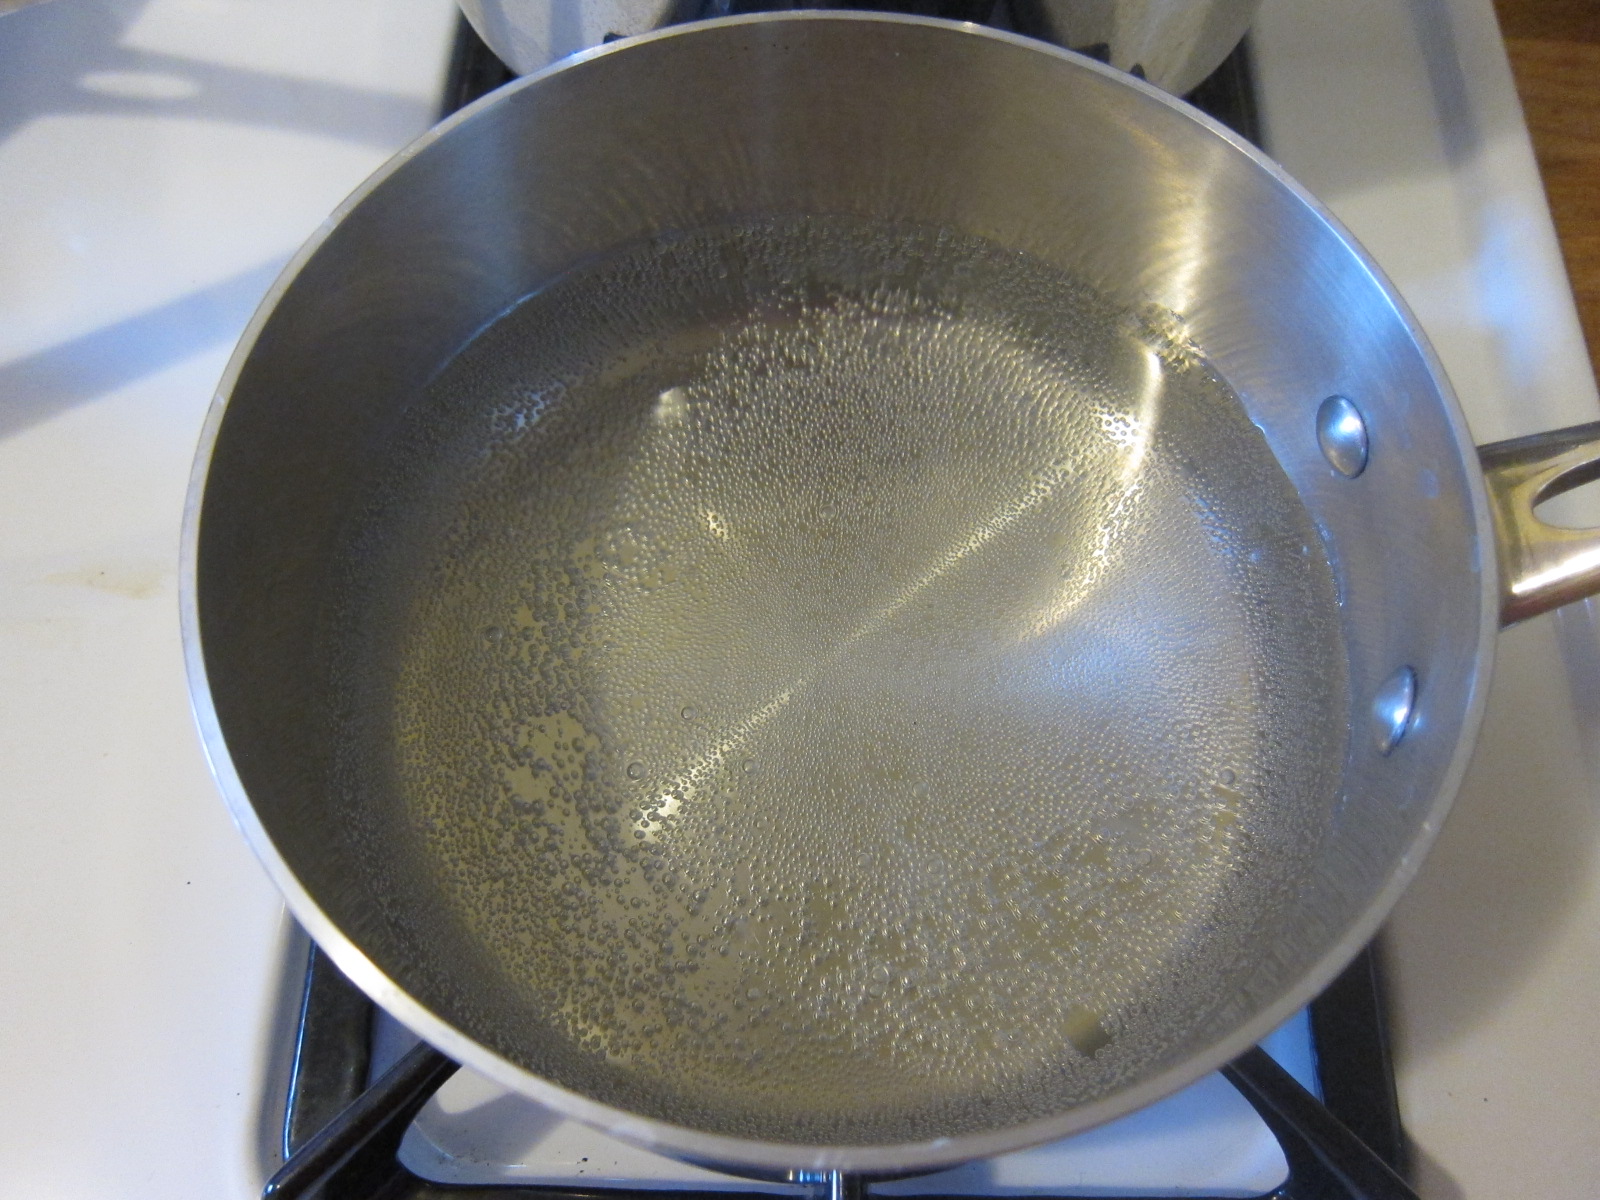
1. Fill a medium-sized sauce pan with water.
2. Add a dash of white vinegar (it doesn’t matter what kind – I use rice vinegar, and it works just fine.)

3. Bring water and vinegar to the point just before a boil. Not a simmer, not a light boil – just to that point when tiny bubbles are forming on the bottom of the pan and starting to float up. If it starts to boil, don’t worry! You can just bring it back down again.
4. While the water is warming up, break your egg whole into a small bowl with thin edges, being careful not to break the yolk. A liquid measuring cup with a lip would work just as well.

5. When the water has warmed to that point just before the boil, use a spoon to create a whirlpool at a slow to medium speed. (The whirlpool will actually help the egg stay in one piece, as counterproductive it may seem in your head!)

6. With the water still spinning, pour the egg in one steady motion into the center of the pot.
7. Use your spoon to keep the whirlpool going a little bit, but slow the motion down. Your goal here is to try and keep the egg white and yolk from separating – think of it like a sheep dog herding sheep into a tight circle, but very carefully. (IMPORTANT: Small pieces of the egg white may detach and drift off, but this does not mean you have failed! Just keep circling the egg with your spoon until you see the color start to whiten.)

8. Once the color has started to whiten, and you can be sure the yolk won’t break free, let the egg cook for a couple of minutes, making sure the water doesn’t boil during this time.
9. Use a slotted spoon to lift the egg out of the water and check the consistency by jiggling it ever so slightly. A well-cooked poached egg will jiggle like jello – not too runny, and not too firm. If you bring it out of the water and it’s still under cooked, just drop it back in! You have a lot of fail safes available here.

10. When you’re happy with the consistency, bring the egg out of the water with the slotted spoon, and let the water drain out into the pot. Then, gently place egg onto the surface of whatever you plan to eat it on! Season with salt & pepper to taste (though of course this is not required – just highly recommended! 😀 )
 ‘
‘

And there you have it my friends! 10 easy steps to poaching your first egg. I got it on my first try, and I assure you I’m no master chef. However, I’ve screwed it up before too. Just don’t freak out when it looks all stringy at first. Keep corralling the yolk, and you’ll be as golden as a yolk.
Until next time, BON APPETIT!

Hi,your blog very wonderful.I already follow your blog.
Could you please visit my blog and comment what about it?
http://loveeatlovefood.wordpress.com/
It’s my project at University.Every like and comment is scores.
Thank you very much
Very cool! I’ve always had a microwave handy for a quick cheat on poached eggs, but I want to get the hang of the real version.
It’s really easy when you do get the hang of it, just takes a few minutes! It’ll be your new go-to 🙂 Plus, it feels fancy!
Okay so I tried this (the first two times were epic fails when I forgot the vinegar – D’OH) with toast and onions and salsa like in the picture and it was sooooo yummy! Thanks Kelsea!
Just saw this comment, sorry Chelsea! That’s SO AWESOME!!! Yeah, the vinegar reeeeally helps everything stay together. I’m so glad you liked it 😀